There are multiple methods for connecting participant devices to your Fitabase project. This tutorial will show you how to use the manual connection option for connecting devices. Manual connection works best when you control the Fitbit or Garmin accounts that will be associated with each of your participant's devices.
1To manually connect a participant first navigate to the Connected Devices page by using the dashboard menu link.
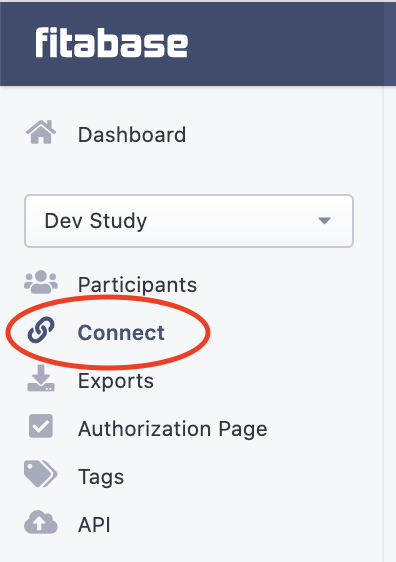
The connected users page will display all currently connected and invited participants. To manually connect your participant, click the Manually Connect Device button.

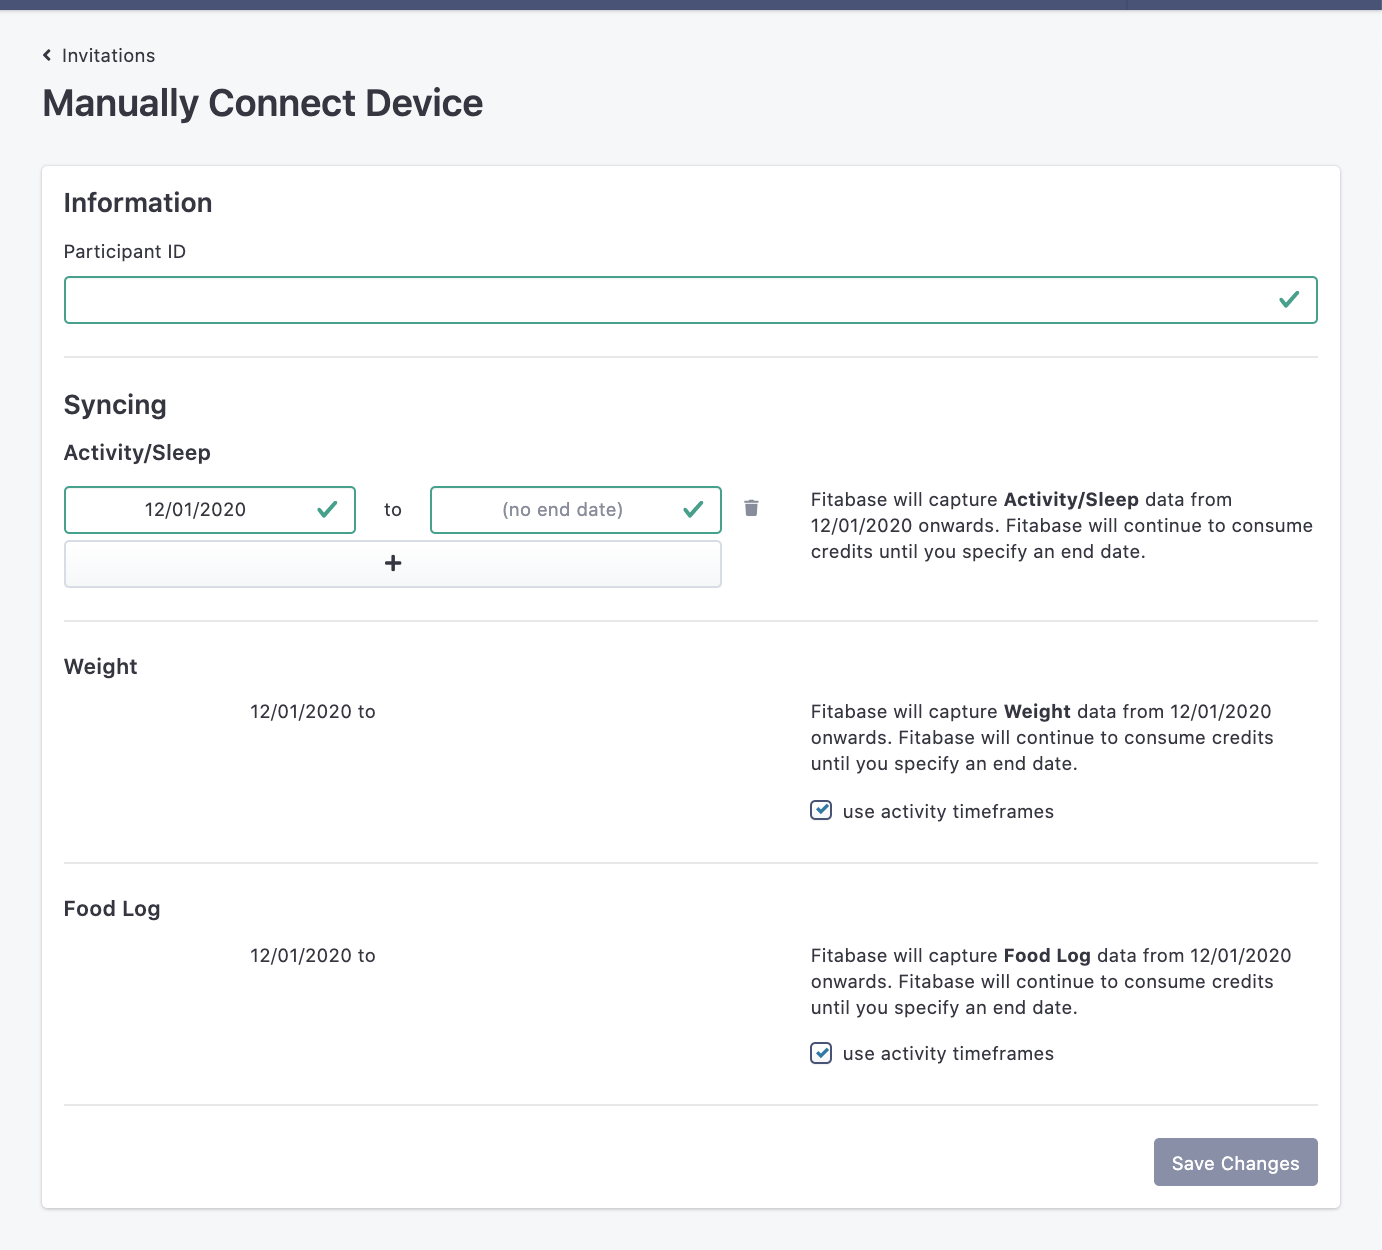
The Manually Connect Device page will prompt you to enter in information for the participant you will be connecting.
You will need to enter a participant identifier. In the Syncing section, should also specify the observation window through which you would like data to be actively pulled into Fitabase from that particular Fitbit.com or Garmin Connect profile. This step will ensure that data capture from your participants will only take place during the date range that you have designated. Fitabase will continue to pull in new data from all active profiles until an end date is entered. It is strongly suggested that you enter an observation window. This date range can later be adjusted. If needed, you can set multiple timeframes for intermittent data collection.
Click the Save changes button to save this participant and associated data collection timeframe.
Tip:
Participant IDs can be any combination of alphanumeric characters.
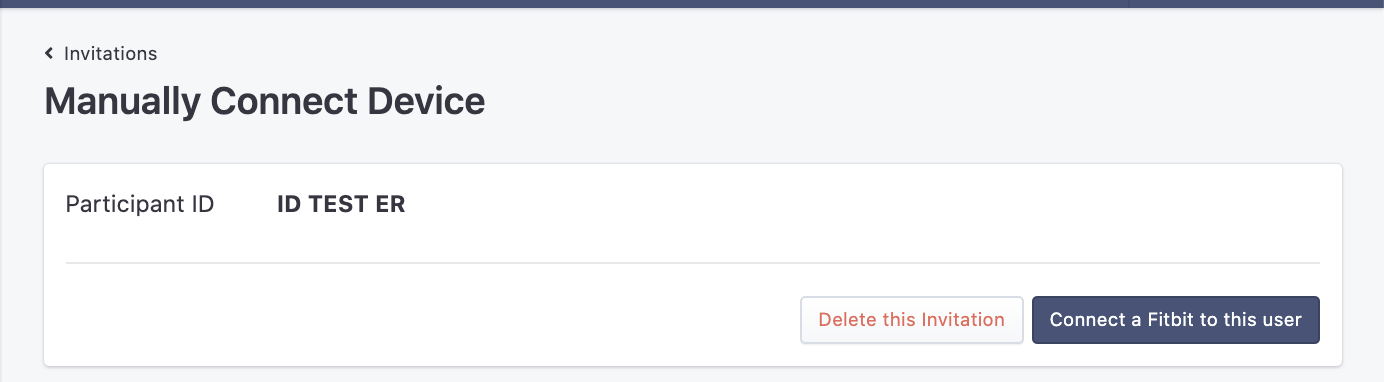
Fitabase will create your participant (user) ID and ask that you connect a Fitbit or Garmin to that ID.
Click on Connect a Fitbit to this user or Connect a Garmin to this user to start the connection and authorization process.
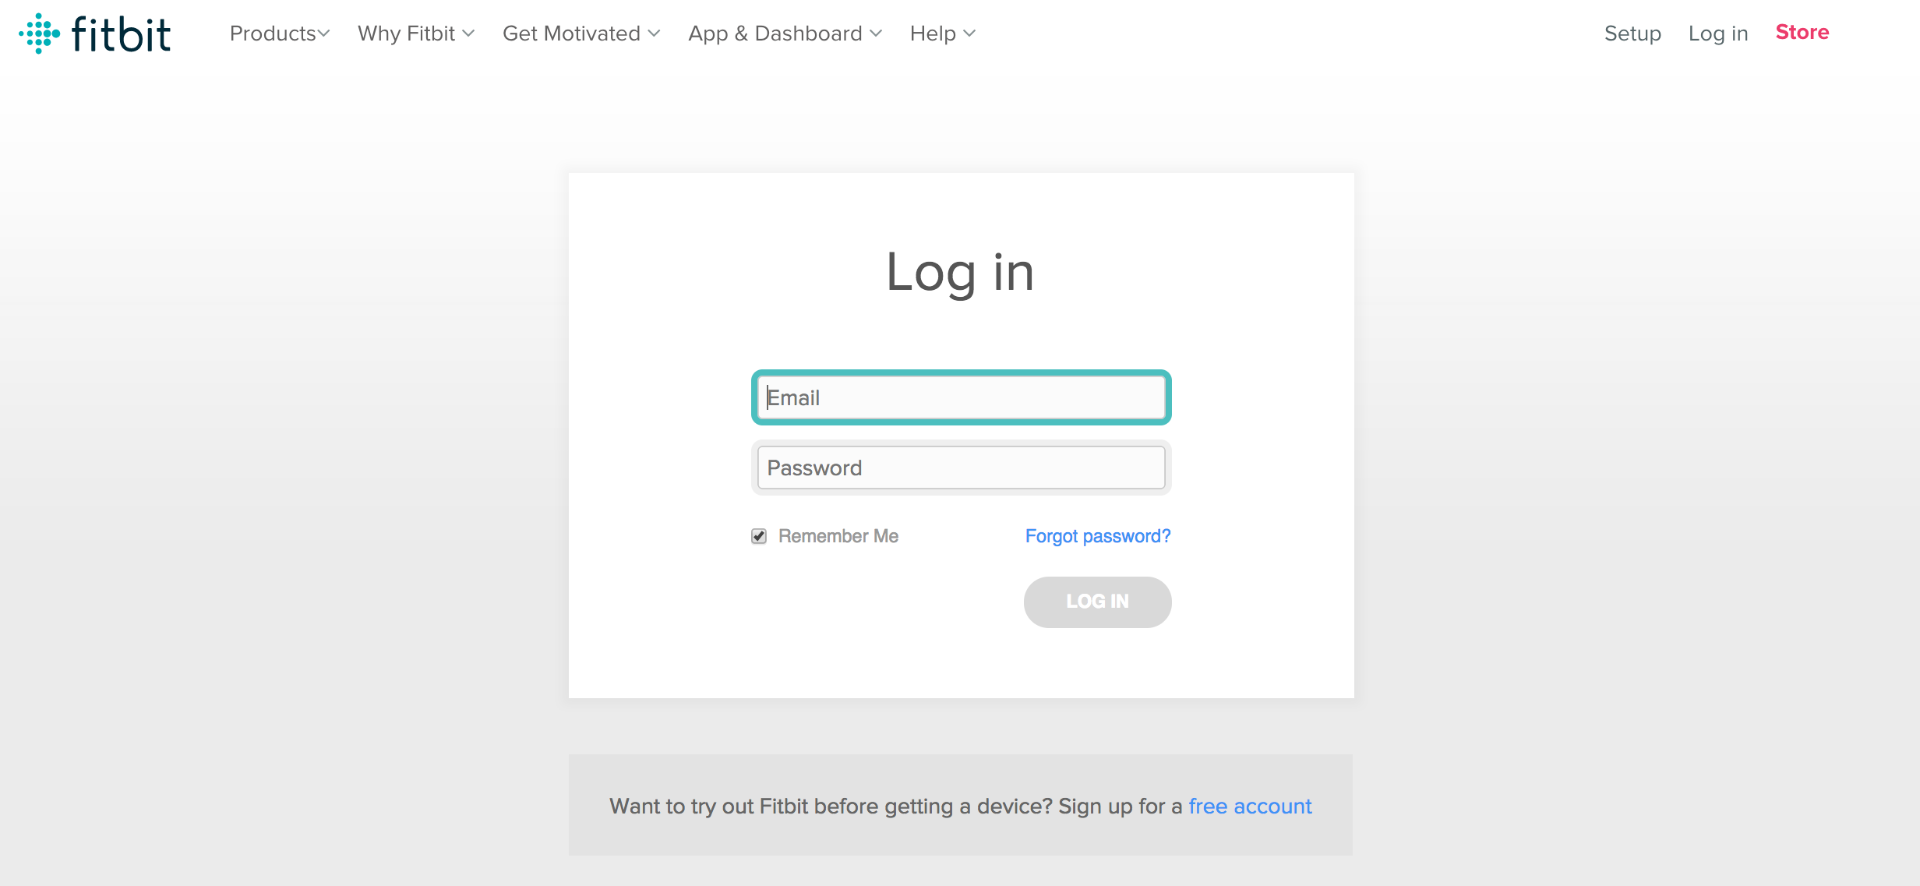
Fitabase will send you to Fitbit.com or Garmin Connect in order to login and authorize Fitabase to access (read) data.
First, you will be asked to sign in with the Fitbit or Garmin account information (email and password) that you created.
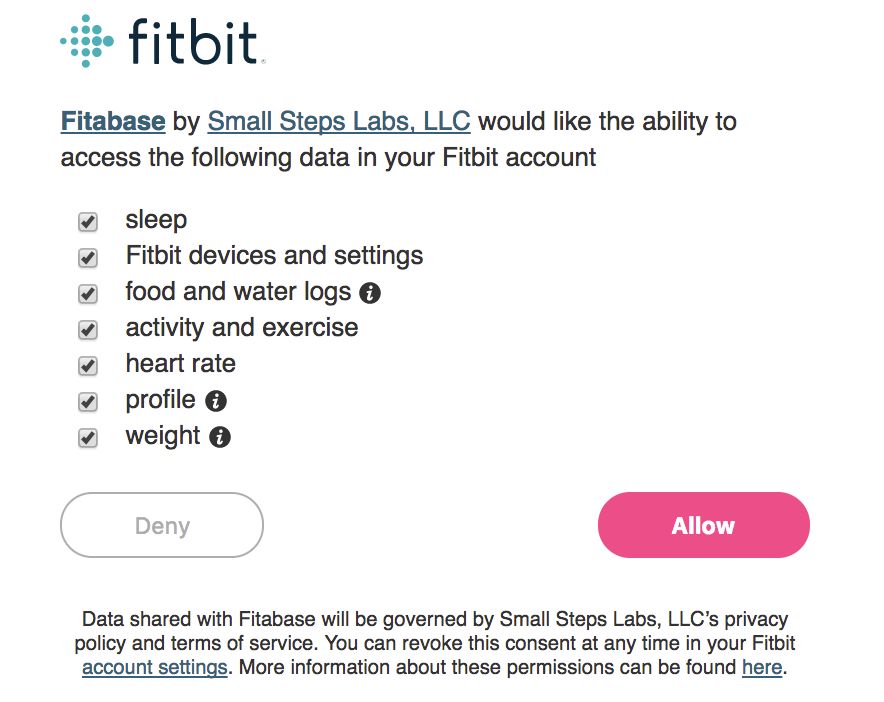
Once you sign in you will be sent to the authorization screen and be asked to allow Fitabase to access the data associated with the Fitbit or Garmin account.
Leave all boxes checked and then click Allow.
Important:
You must leave all boxes checked before clicking allow in order for Fitabase to properly access data.
Congrats! You've just connected your first account to your Fitabase project.
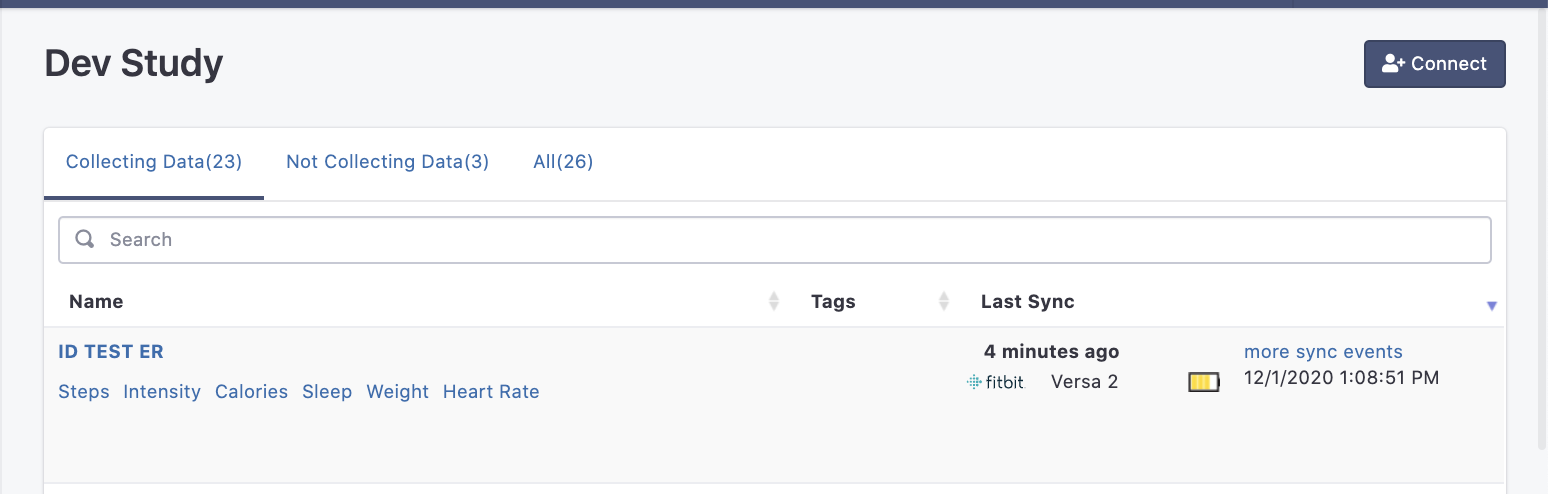
Once you've connected an account it will show up on your project dashboard. If a device has been connected the device name will be shown. You may also see a message "No Device Sync Yet." This message will be shown until the associated device syncs with its respective app and data is made available.
You can continue to connect additional devices using the steps above for all Fitbit or Garmin accounts you control.
If you do not control the accounts, or you are recruiting participants that already have their own devices and related accounts, you can use our Invitation Link method to connect those accounts.