If you would like to export data from more than one participant and/or you want to export multiple data sets, you can use our Batch Export Tool. Just follow these simple instructions.
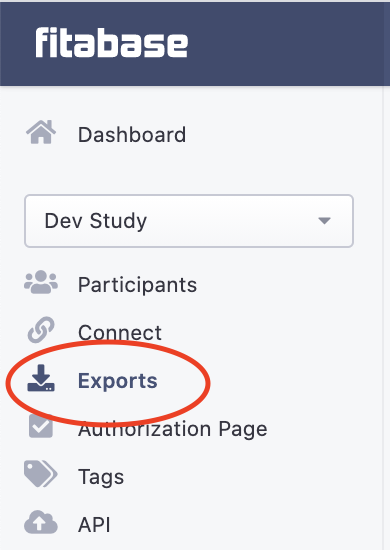
1To open the batch export page click on the batch export link at the top of your project dashboard.
The Project Data Exports page contains all previously created batch exports. You can click download to download any batch export you have previously created.
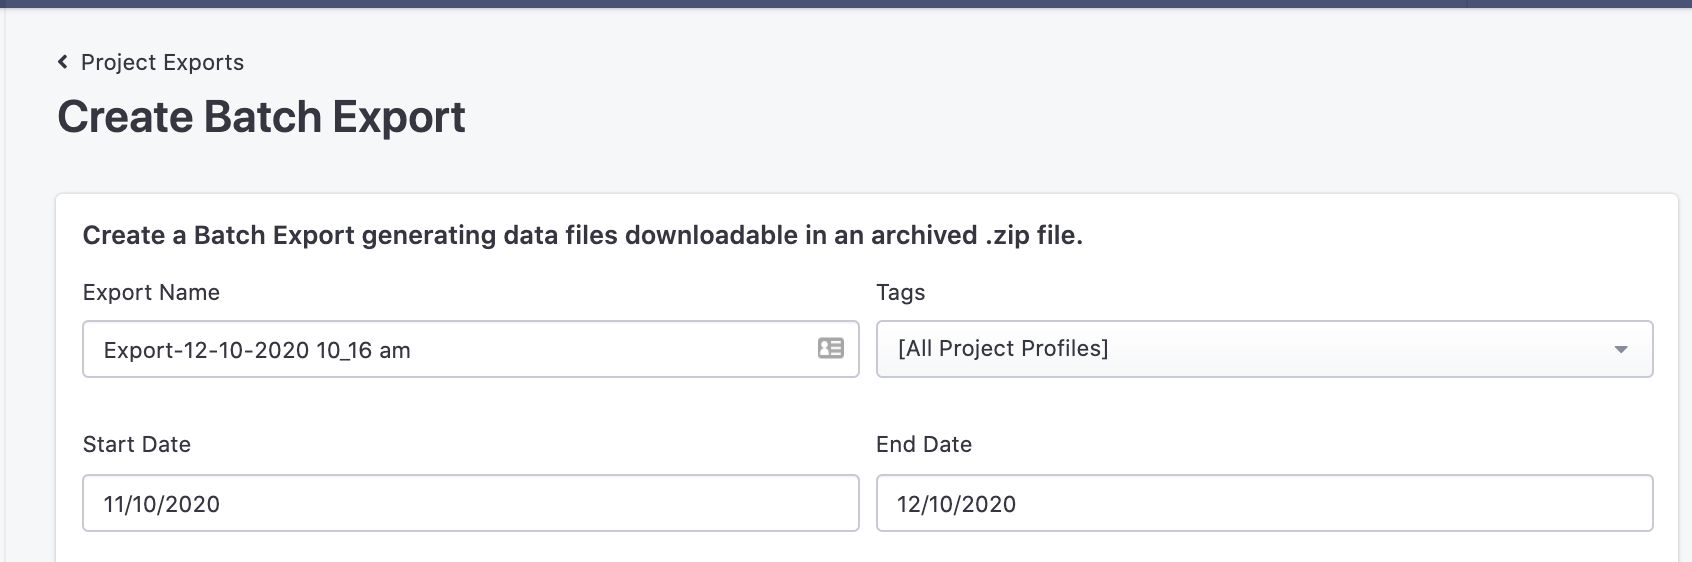
2To create a new batch export click on Create new batch download.

From the Create Batch Export page you must first enter in the export parameters:
- Enter in the title of your batch export (the name of the .zip file to be downloaded).
- Set the start and end dates for the data you'd like to download.
- Dates must be entered in M/D/YYYY format.
- Select the participants you would like to include in the export.
- You can choose to pull data from all devices (All Project Profiles) connected to your project, or select only specific tags to be included. If no tags have been created in your project, the only option in this field will be All Project Profiles. You can also select multiple tags (Note. currently the tag variable is not exported as part of the data file).
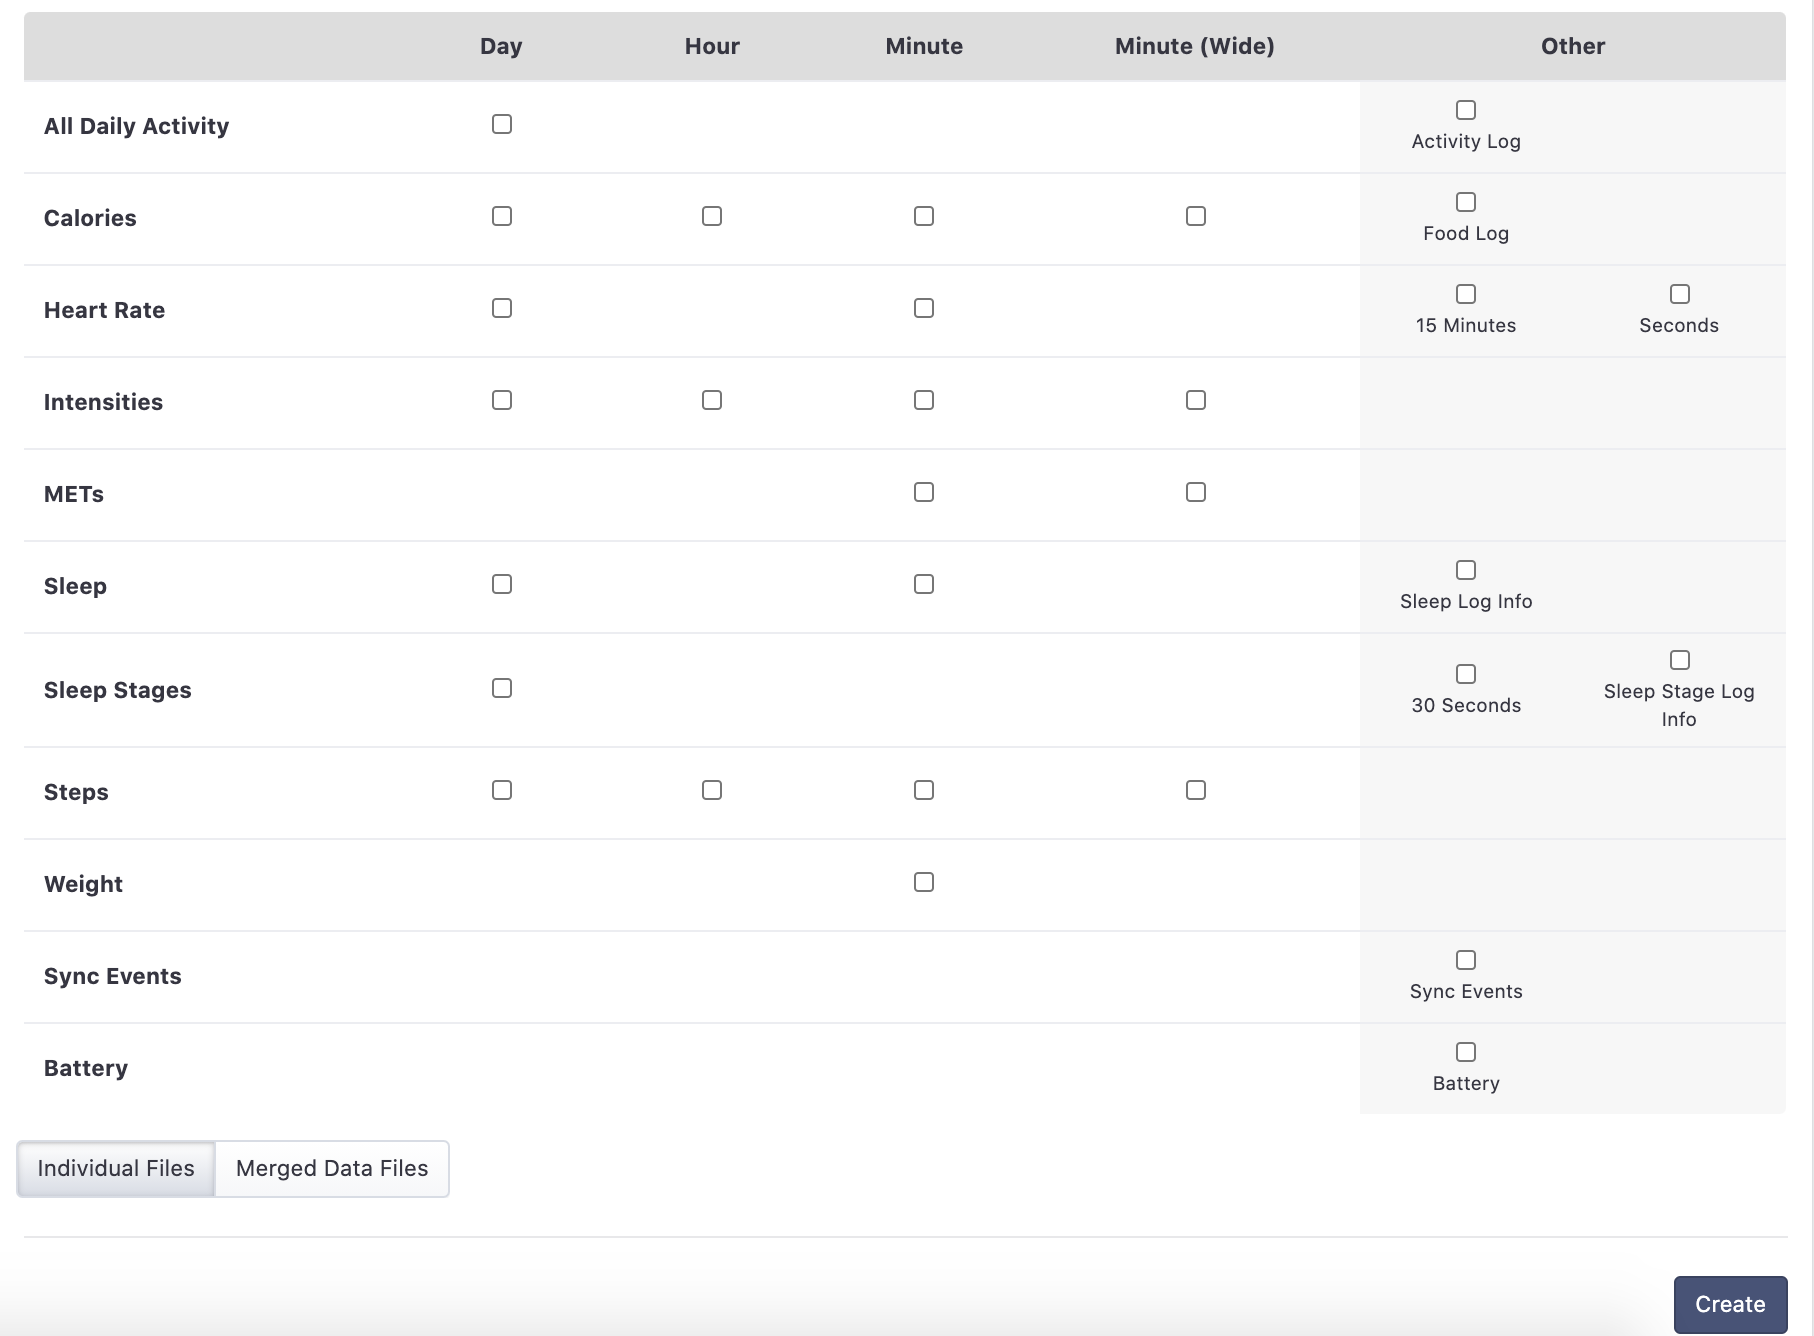
Now, choose the data and format you want to export.
- Select the data sets you would like to export. You can select as many as you'd like.
- Data sets are available at the minute, hour, and daily data level
- Select Individual Files or Merged Data Files
- Individual files will create one .csv file per selected data set, per participant
- Merged files will create one .csv file per selected data set. Each merged file will contain an “Id” variable that contains the participant identifier.
- Click Create
Fitabase will begin to package your selected data files for download as a .zip file. You will see a progress bar indicating the progress of creating your batch export. Typically this process takes less than a minute. For larger files (many participants, long durations, or both), this may take longer.

Once the export is processed and you receive a 100% Completed message you will be able to download the .zip file. Simply click download and the .zip file will begin to download.

Tip:
If you are creating very large files, you can navigate away from the batch export page while it processes your files and return at a later time.
The batch export .zip file will have the name you set in step one above. The .zip file will contain a folder containing all the data sets you selected for export. All data sets will be available in the folder.
If you chose the Individual Files option all file names will contain the participant identifier, the data set name, and the time frame (start-end) you selected: Participant ID_dataType_startdate_enddate.csv.
If you chose the Merged Data Files option, all file names will contain the data set name and “merged”: dataType_merged.csv.
Remember:
If you only select one dataset for one participant, or one merged dataset, the .zip file will contain only a single file (and no folder).